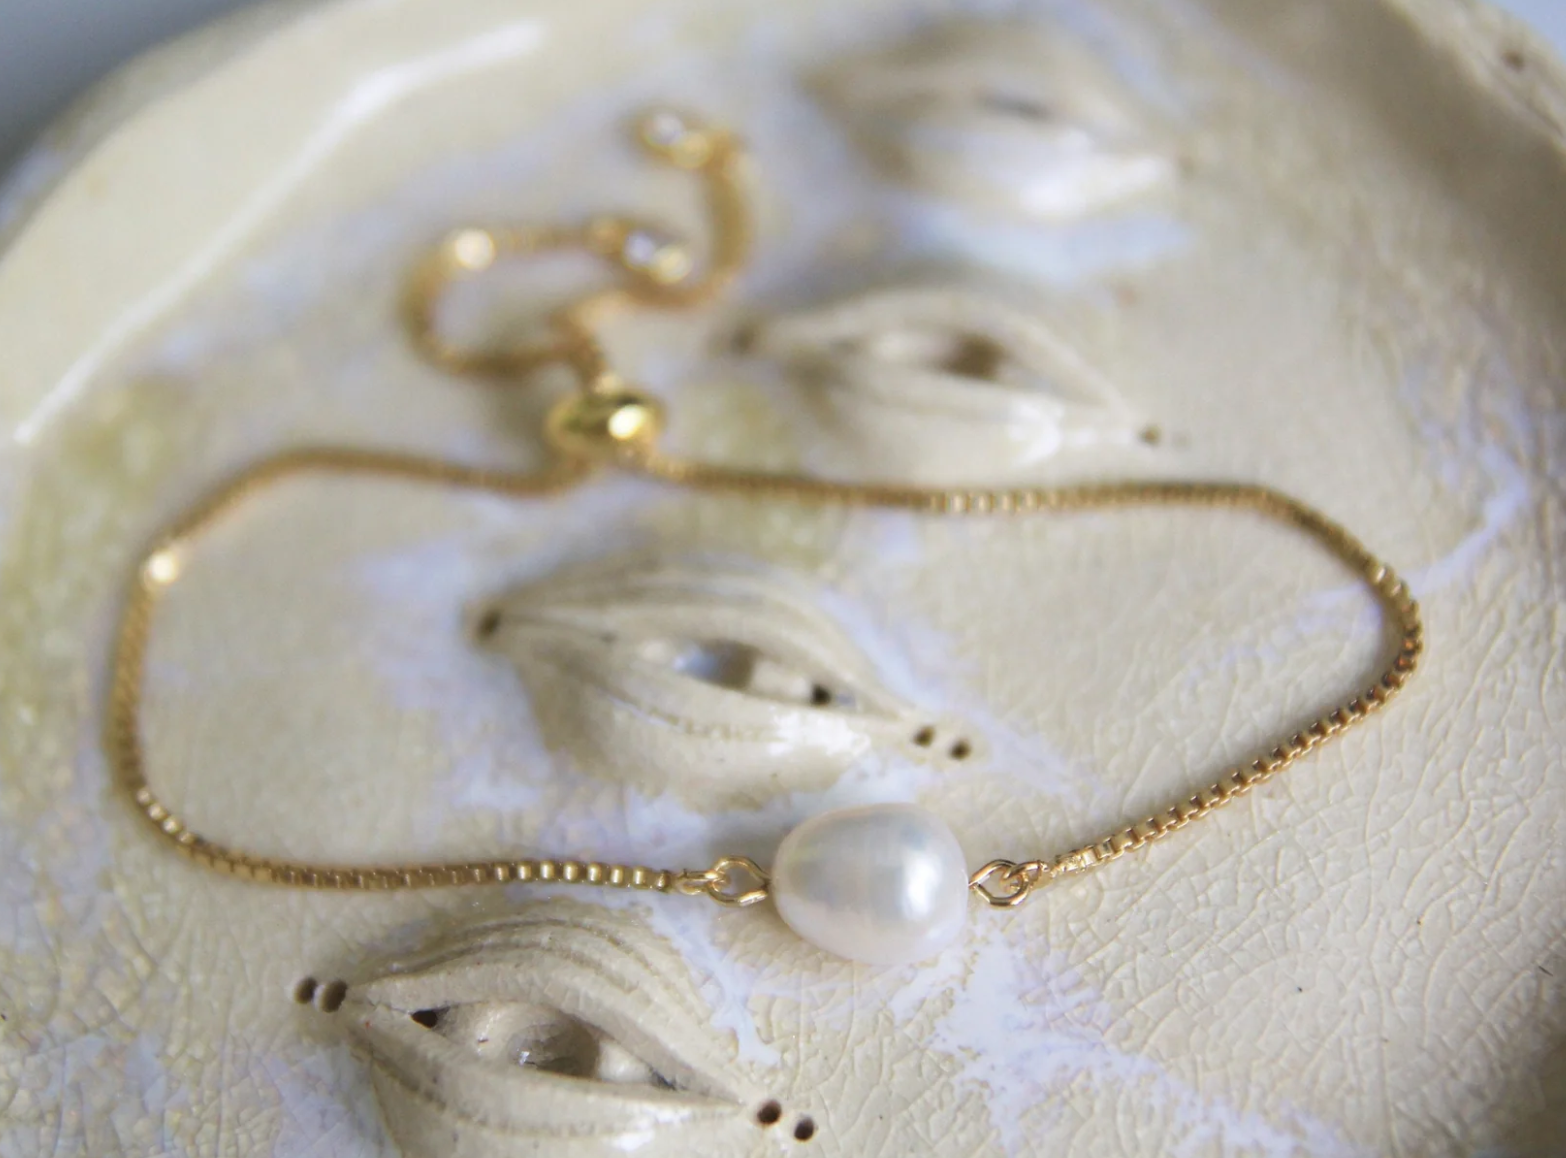
 Image 1 of 3
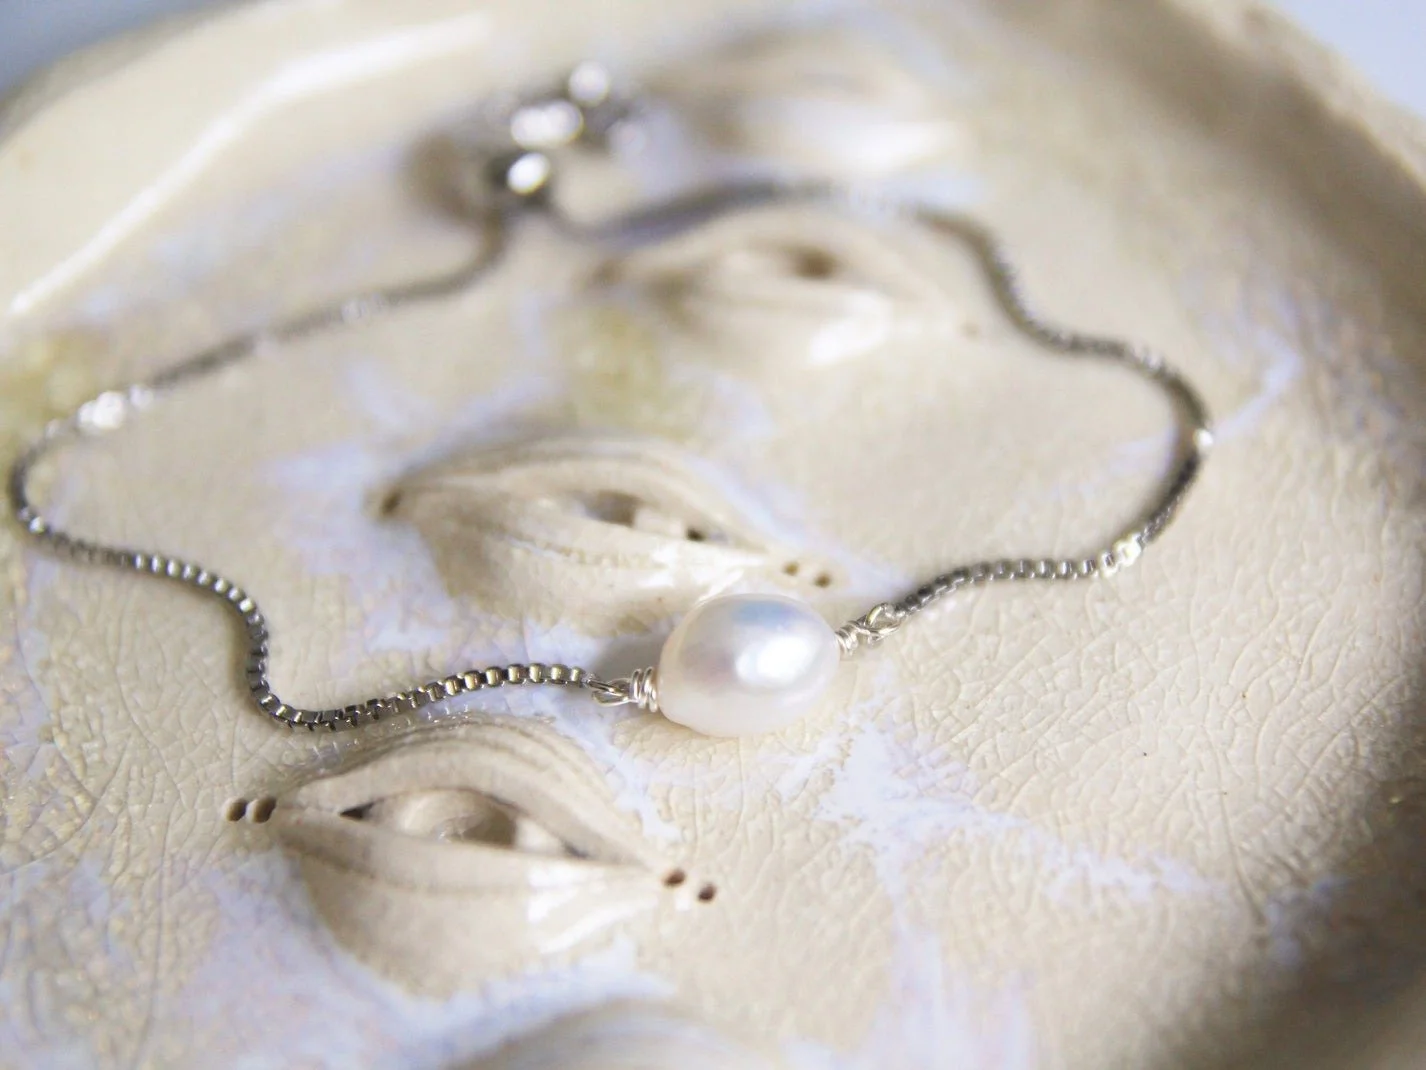
 Image 2 of 3
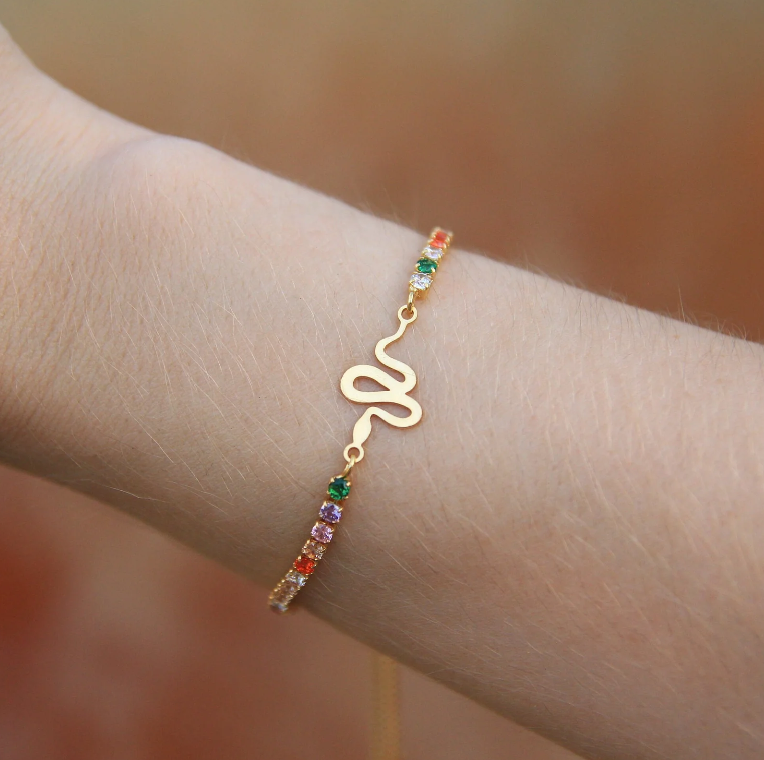
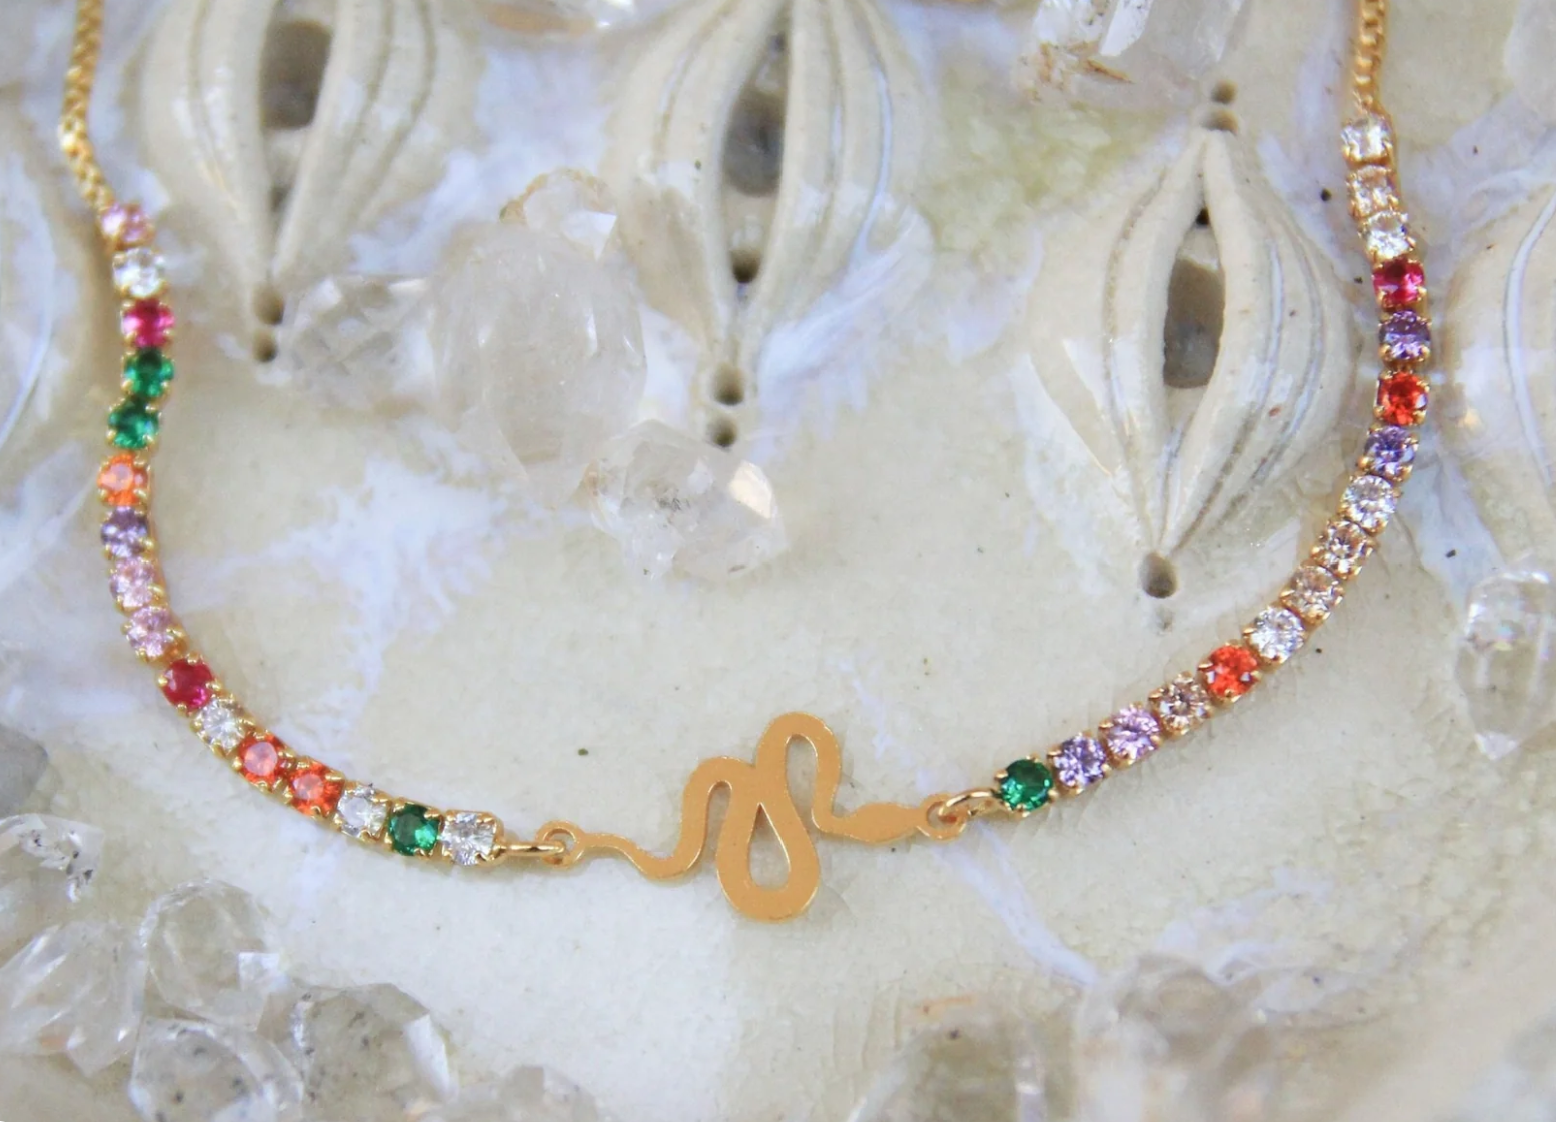
 Image 3 of 3
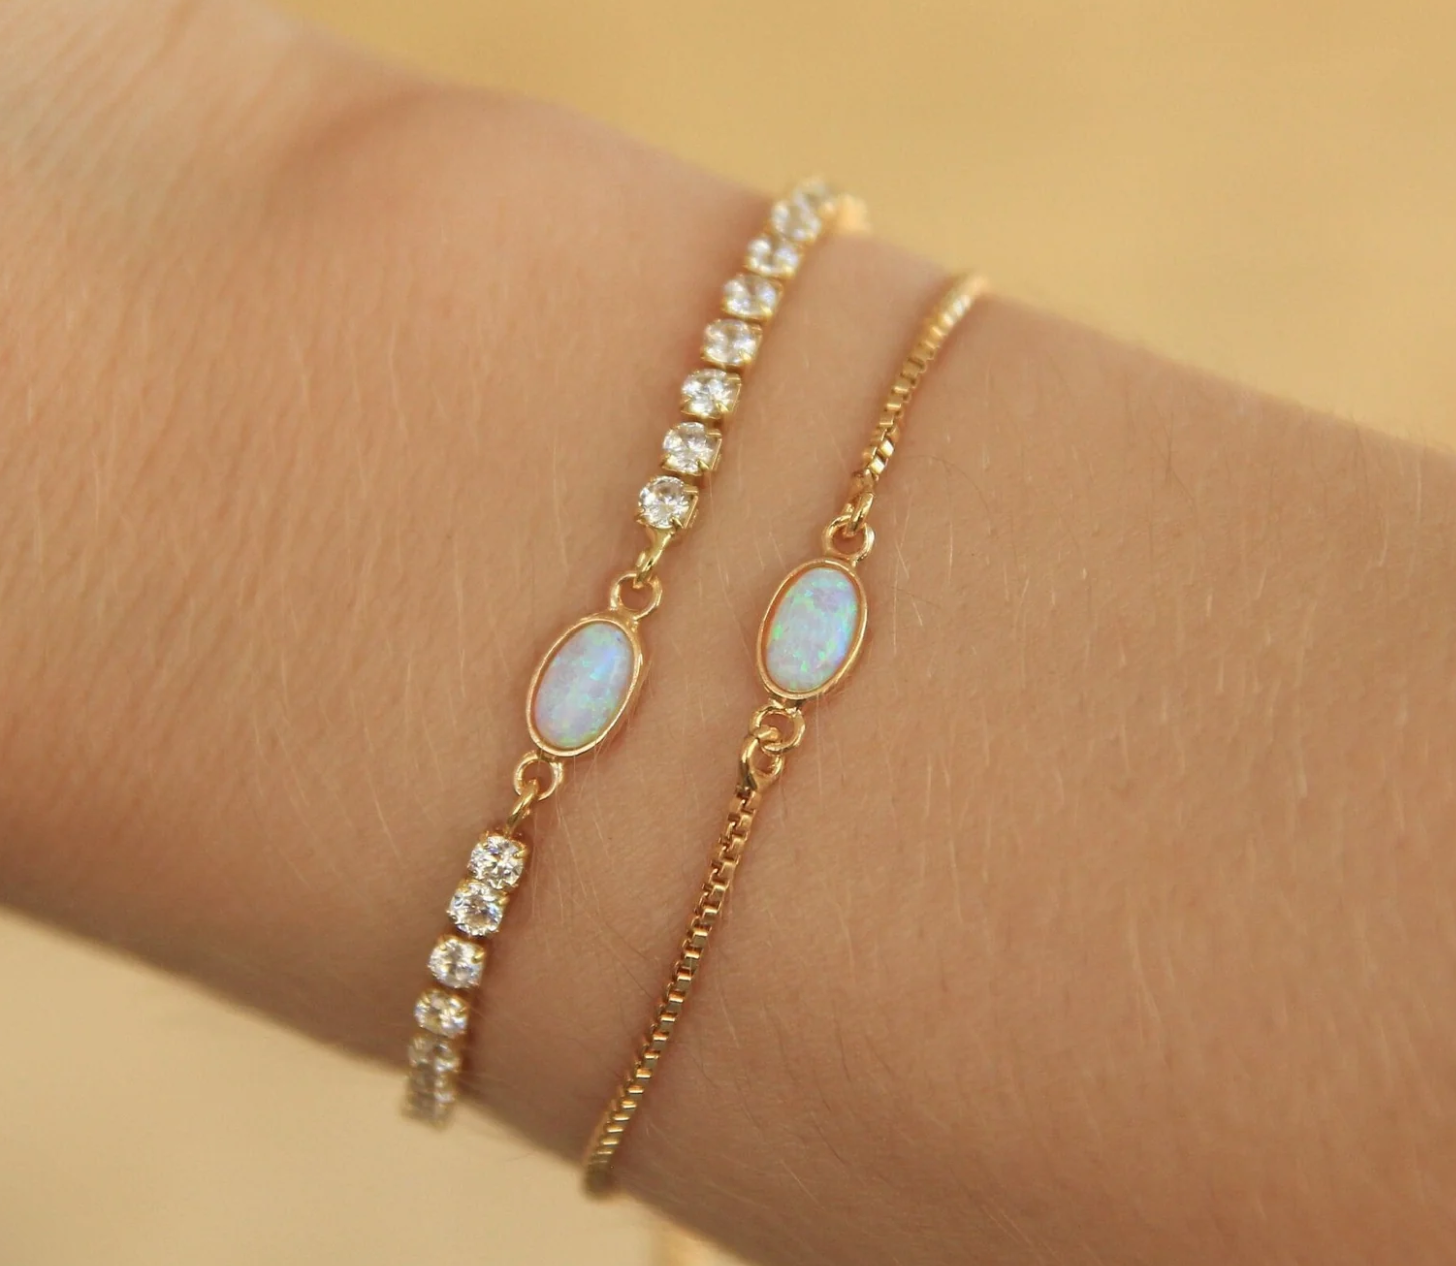
Super colourful and flashy synthetic opals on a plain box chain (right in pic).
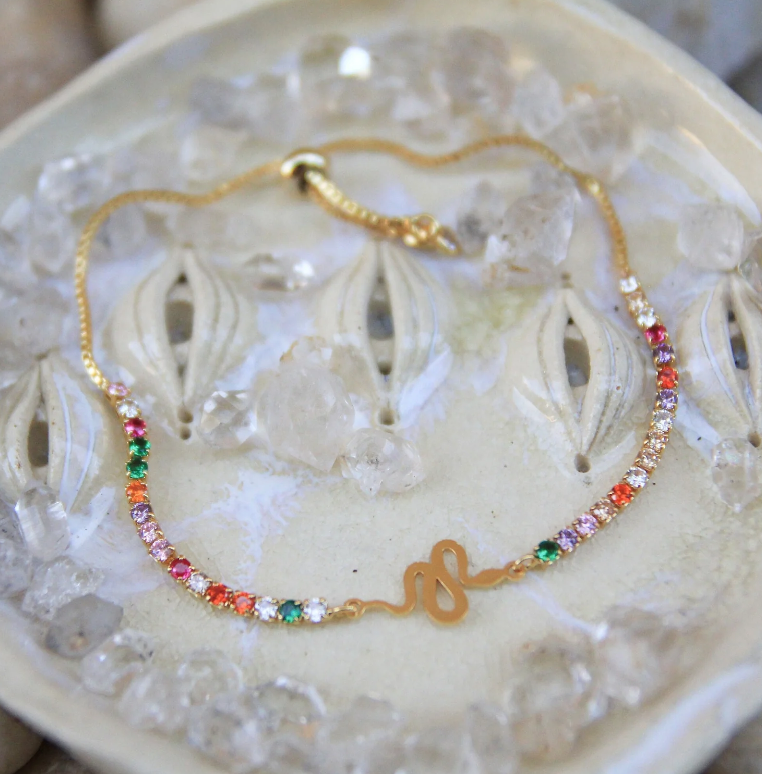
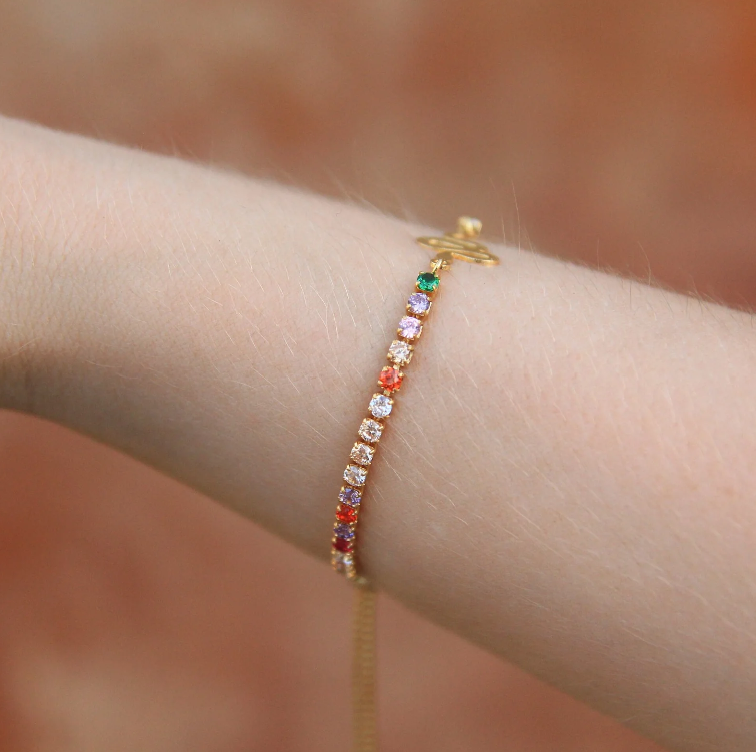
Fully adjustable so fits all wrist sizes and can be worn comfortably at your preferred length.
High quality gold plating.